
Risograph tips with illustrator Joe Maccarone
Joe Maccarone is an Illustrator living and working in Baltimore, with a BFA in illustration from Maryland Institute College of Art.
Can you tell us about your creative background and journey into illustration – where did you study? What was your entry point into the industry?
I’ve always loved creating visual art, especially drawing, and when the time came around to start applying to universities, I knew I wanted to go to art school. I went to the Maryland Institute College of Art in Baltimore, where I was introduced to the idea of illustration as a real career possibility. After graduation, I became a freelance illustrator, where I’ve gotten the chance to work on a variety of projects with a bunch of different people. On the side I have always loved to use the risograph printer for my own personal practice, and it has become one of my favorite ways to create for myself.

Seeing artists push the risograph beyond its original intention has been so inspirational because it shows that with the right imagination you can turn what is essentially a modest copy machine into a raw, exciting art-making tool.
Who are your main inspirations and influences?
Nothing influences me more than nostalgia – it’s honestly hard to escape! In particular, I can’t shake the influence of old video games (I was very impressionable during the Nintendo 64 era), and I’m always trying to capture that feeling associated with mountains and family skiing trips when I was a kid. I’m really inspired by contemporary illustrators, and my Instagram is currently overloaded with artists I like to follow. In terms of fine art, I have recently felt inspired after looking at works by painters like Matisse, Philip Guston, and Diebenkorn.
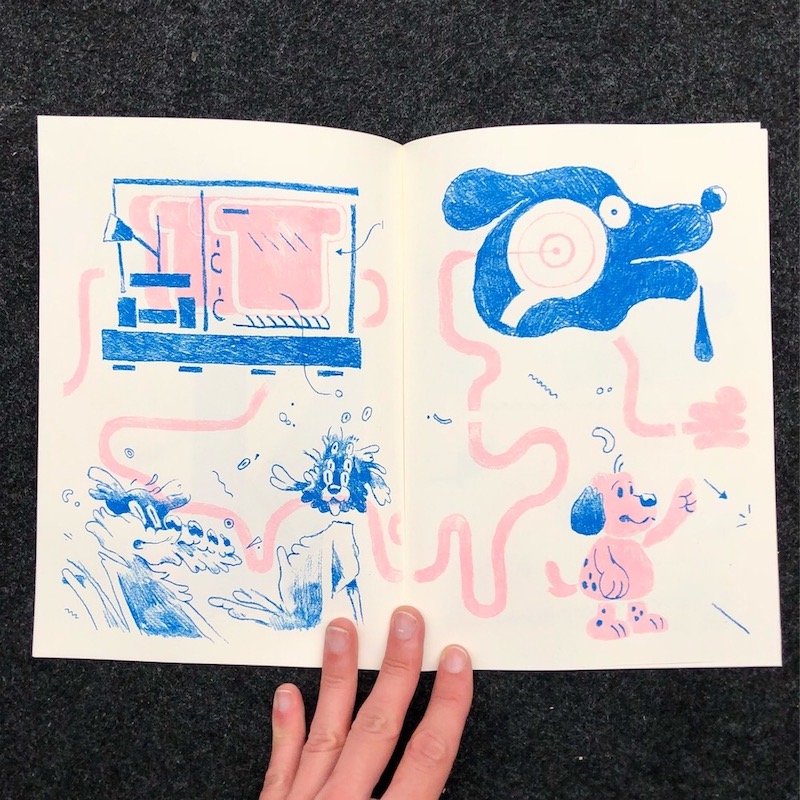
One of the first artists who’s work introduced me to the risograph is Patrick Kyle. He’s pushed the limits of what the machine and ink can do, and has come up with some really weird books over the past few years. Seeing artists push the risograph beyond its original intention has been so inspirational because it shows that with the right imagination you can turn what is essentially a modest copy machine into a raw, exciting art-making tool.

When did you first discover Risograph printing?
At school, I had the opportunity to work alongside so many other artists and explore the world of illustration, and some of the things that excited me most were zines, comics and prints. I began going to zine fairs and comics expos, and saw some cool and experimental pieces of art made using this rough, inexpensive, and weird printmaking technique. I found an amazing local studio space, Baltimore Print Studios, which has been such an invaluable resource. From there, my own experimentation began.
Can you share your step by step process for making risograph prints?
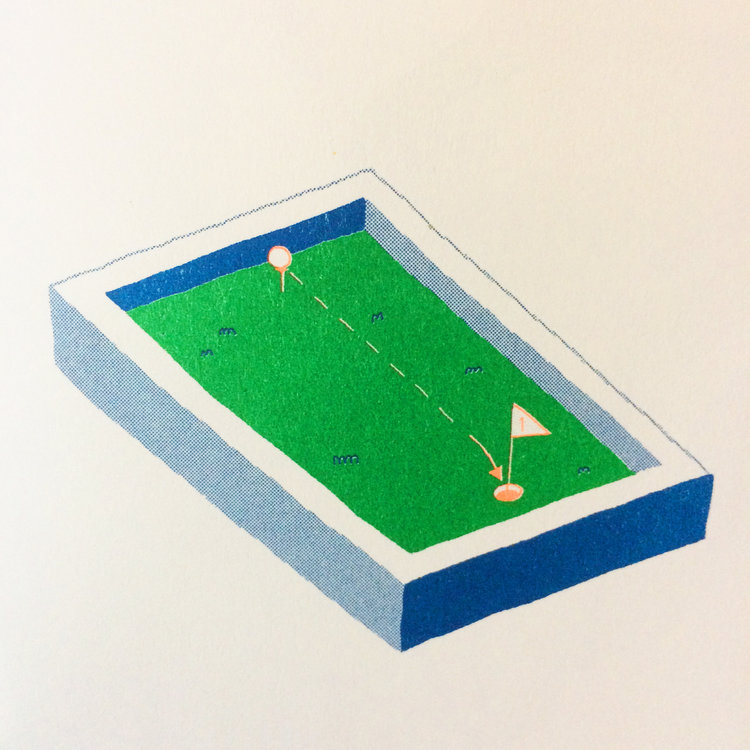
As with other printmaking methods, it’s inevitable that layers won’t line up perfectly. There are a number of techniques to work around mis-registration and create effective images. If I’ve drawn an object with two colors – a flat color with linework on top – I expand the flat color further than I normally would, underneath the linework, instead of just inside the lines. This way, when the linework layer is a little bit off, there is less of a chance of awkward negative spaces.
There is a lot of trial and error with the start of every print, so I always have to prepared to make tweaks along the way by trying different options on the machine or altering digital files on the fly.
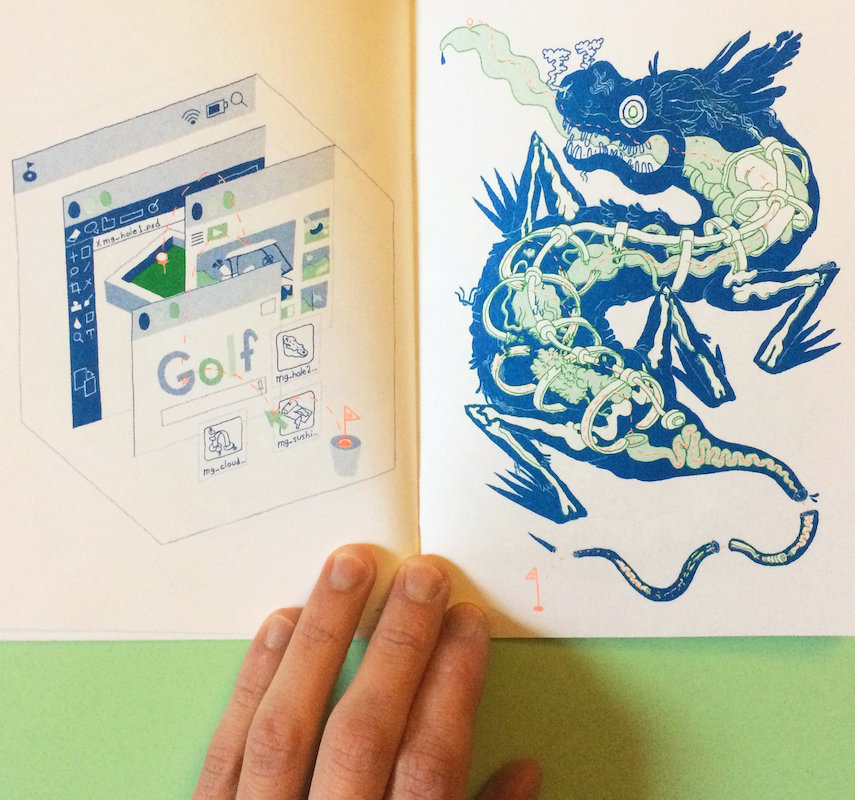
When riso-printing a zine or comic book, creating a mock-up and keeping everything organized and ordered is very important. Through creating a mock-up of one of my saddle-stitched zines, I’m able to figure out what pages will be printed on each piece of paper, and in what order. With a saddle-stitched booklet, each sheet of paper will contain 4 pages, so I have to do the math when it comes to the first stage of planning, as to not end up with any blank pages. Things can get a bit confusing when it comes to page layout, so as I always try to experiment by folding sheets of paper together, to get an idea of the final product from the very beginning. There is a lot of trial and error with the start of every print, so I always have to prepared to make tweaks along the way by trying different options on the machine or altering digital files on the fly.
 How does the process vary from other print techniques? What are the main challenges involved?
You always have to keep in mind that there’s zero chance the risograph will work perfectly. There will almost always be inconsistent registration, faded areas of ink, and a number of unexpected errors. That’s absolutely part of its charm, and something you can use to your advantage to create some crazy results.
Talk us through the production of a riso print from initial idea to final artwork using risograph printing?
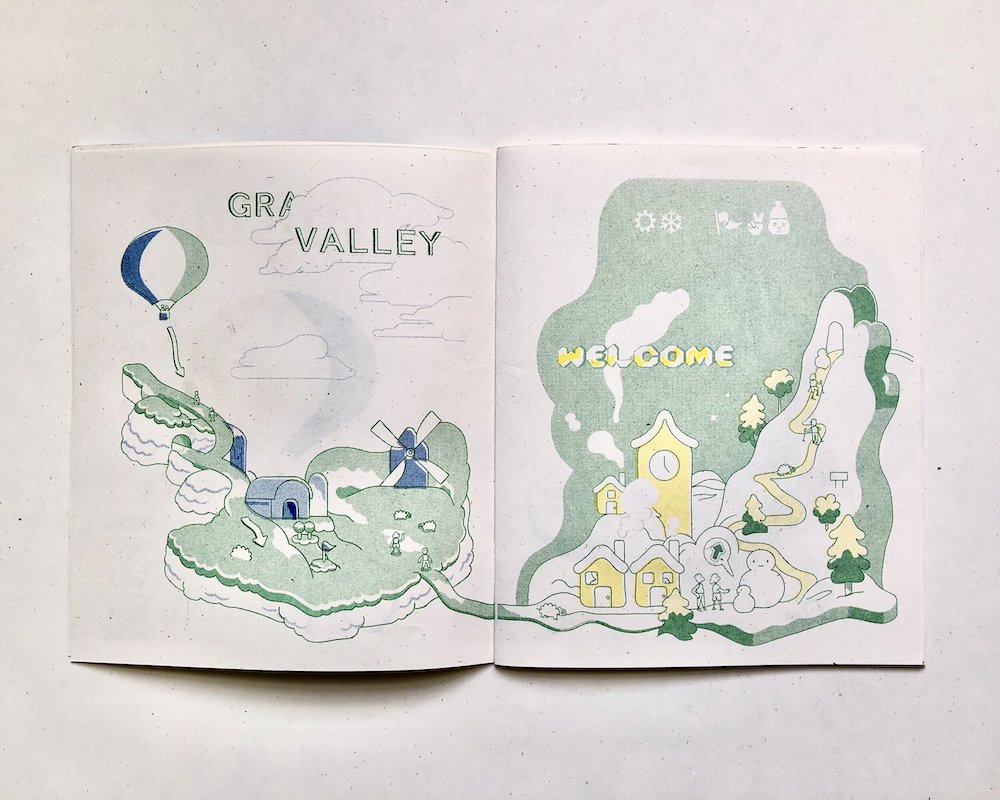
When riso-printing, it’s always best to keep the technique in mind from the very beginning. You can either create digital files and print them from your computer, or you can use the scanning function on the risograph to transfer traditional media. I mainly work digitally, and like to design art using layers in Photoshop. 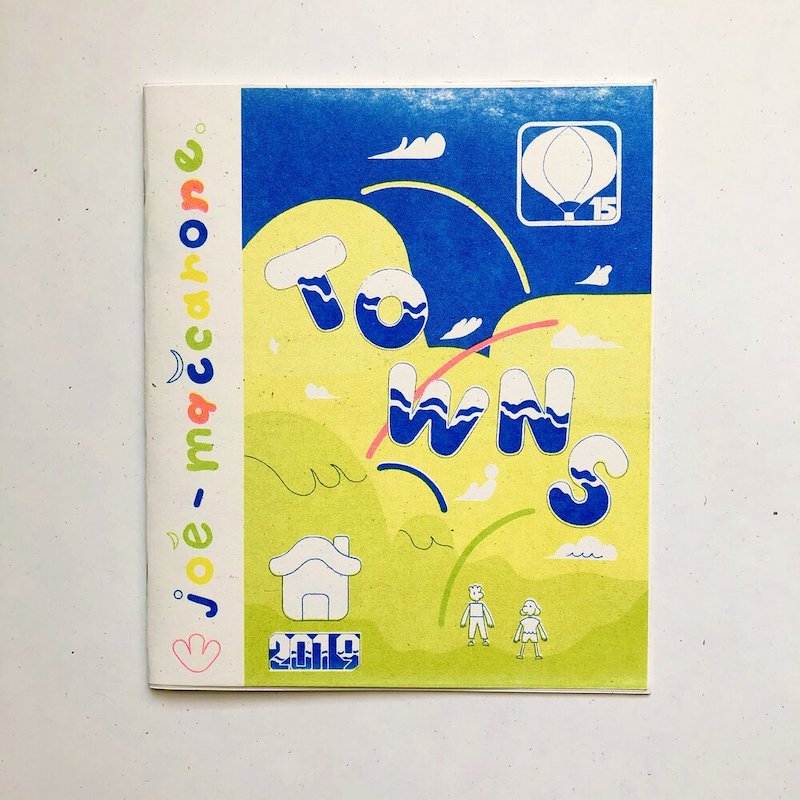 Flat areas of color work really nicely, and can layer on top of each other in interesting ways. The risograph printer takes flat blocks of colors and creates its own halftone pattern when it creates a “master”(sort of like cutting a stencil), and layering these halftone shapes creates some great, unplanned textures. When working digitally, I save each color layer as a grayscale image, because the risograph will take the different values and use its halftone patterns to replicate them. I use one grayscale image per color, and go from there.
Best piece of advice / workable tip for designers, students, graduates looking to try Risograph printing for the first time?
It may be difficult to find a place where you can use a risograph nearby, but I do think the best way to get started is to find someone who has a risograph printer in your community, and experiment and mess around with one. If you don’t have the ability to use one in person, reach out to a print shop online that offers risograph printing services and ask a bunch of questions – I’m sure they’d be excited to talk about it and print something for you. Every risograph printer has its own personality, and I encourage any artist interested in creating multiples to give it a try!
Extracts from this post feature in Risograph printing techinques and tips published by Digital Arts, December 2019.